
How to Dry Pampas Grass for Decorating

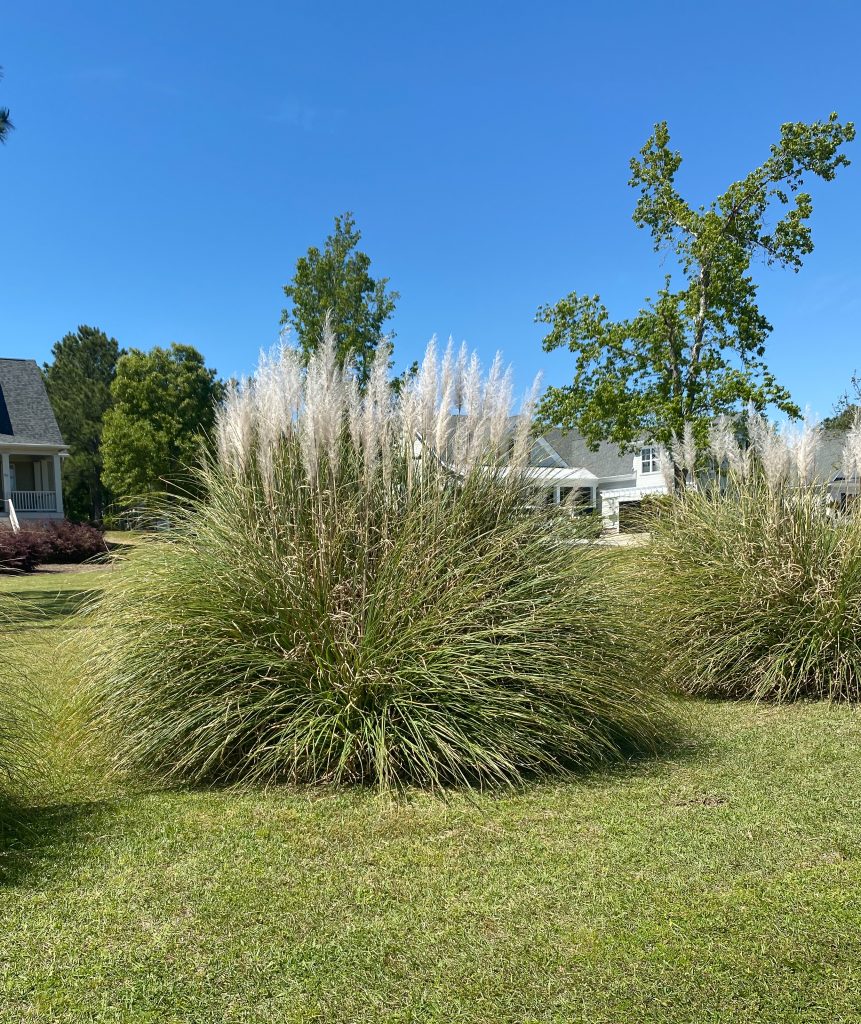
Pampas grass is definitely on trend right now in home decor. The wispy plumes help to capture coastal style beautifully. Pampas is showing up in stores and online shops everywhere. However, they can be somewhat expensive. While shopping around for it, I kept thinking that there are so much pampas grass around me outside. Why can’t I just use the real stuff? Is there a way to preserve the plumes to have their beauty without breaking the bank? Sure enough, there is. And, it was actually quite simple. Let’s look at how to do this.
What You’ll Need to DIY Pampas Grass
- Garden shears (I like the Fiskars brand)
- Garden gloves
- Twine / String (optional)
- Clothes hangers (with clips) or clothes pins
- Clothes rack
- Aerosol hair spray
How to Dry Pampas Grass for Decorating
Step 1: Cut Your Pampass Grass
Cut your pampas grass plumes from the main part of the plant. The best time to cut is when the plumes are nice and full. We cut ours in the late fall and it was great timing. You may want to vary the length to make it easier to decorate with, but I would recommend cutting them long so you can have flexibility later. Also, gloves and long sleeves are highly recommended as this can be a very prickly process. Pampas grass leaves are surprisingly sharp. Some people find that tying the plant up with twine or string helps the cutting process, but we just carefully cut without tying them up.
Step 2: Spray the Pampas Grass
Lightly spray the pampas grass plumes with aerosol hair spray. Allow it to dry and then spray again. This helps protect the plumes from shedding once they are dried and in your home. A couple might still shed but this step dramatically reduces the number of particles you will find near your pampas once you bring it inside. Keep in mind, that the more you mess with them, the more shedding you will see. But really once they were in their vase, we haven’t had too much of an issue with shedding.
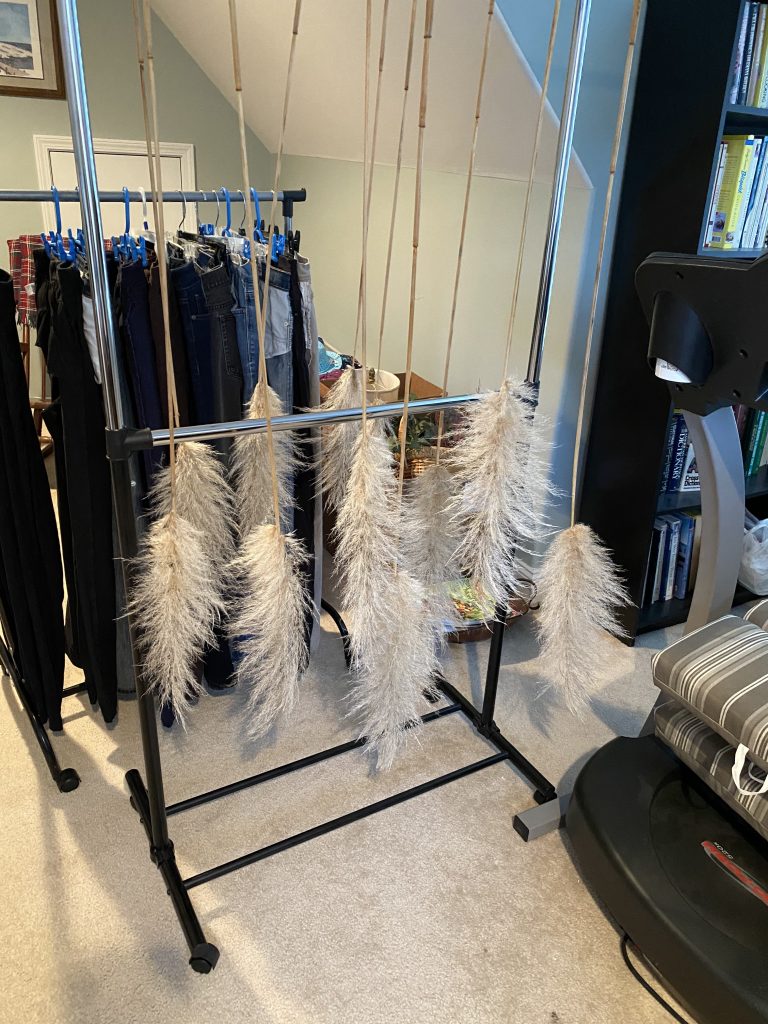
Step 3: Hang the Plumes
Hang the pampas grass plumes upside down in a well-circulated area. We just used a portable clothes rack and clothes hangers with clips on them to hang them upside down. Some tutorials I read said that you could rubber band them together in small groups for this, but I felt it was better to leave each individual for the most air circulation and proper exposure. This worked well. Additionally, you should choose a spot that doesn’t get too much sun.
Step 4: Wait
Wait for 2 to 3 weeks. This is the hardest part! I didn’t think you would need to wait this long, but I just followed this process anyway to ensure they were completely dried out. Everything that I read said at least 2 weeks. So, I managed my impatience and just followed this step verbatim.
Step 5: Final Step
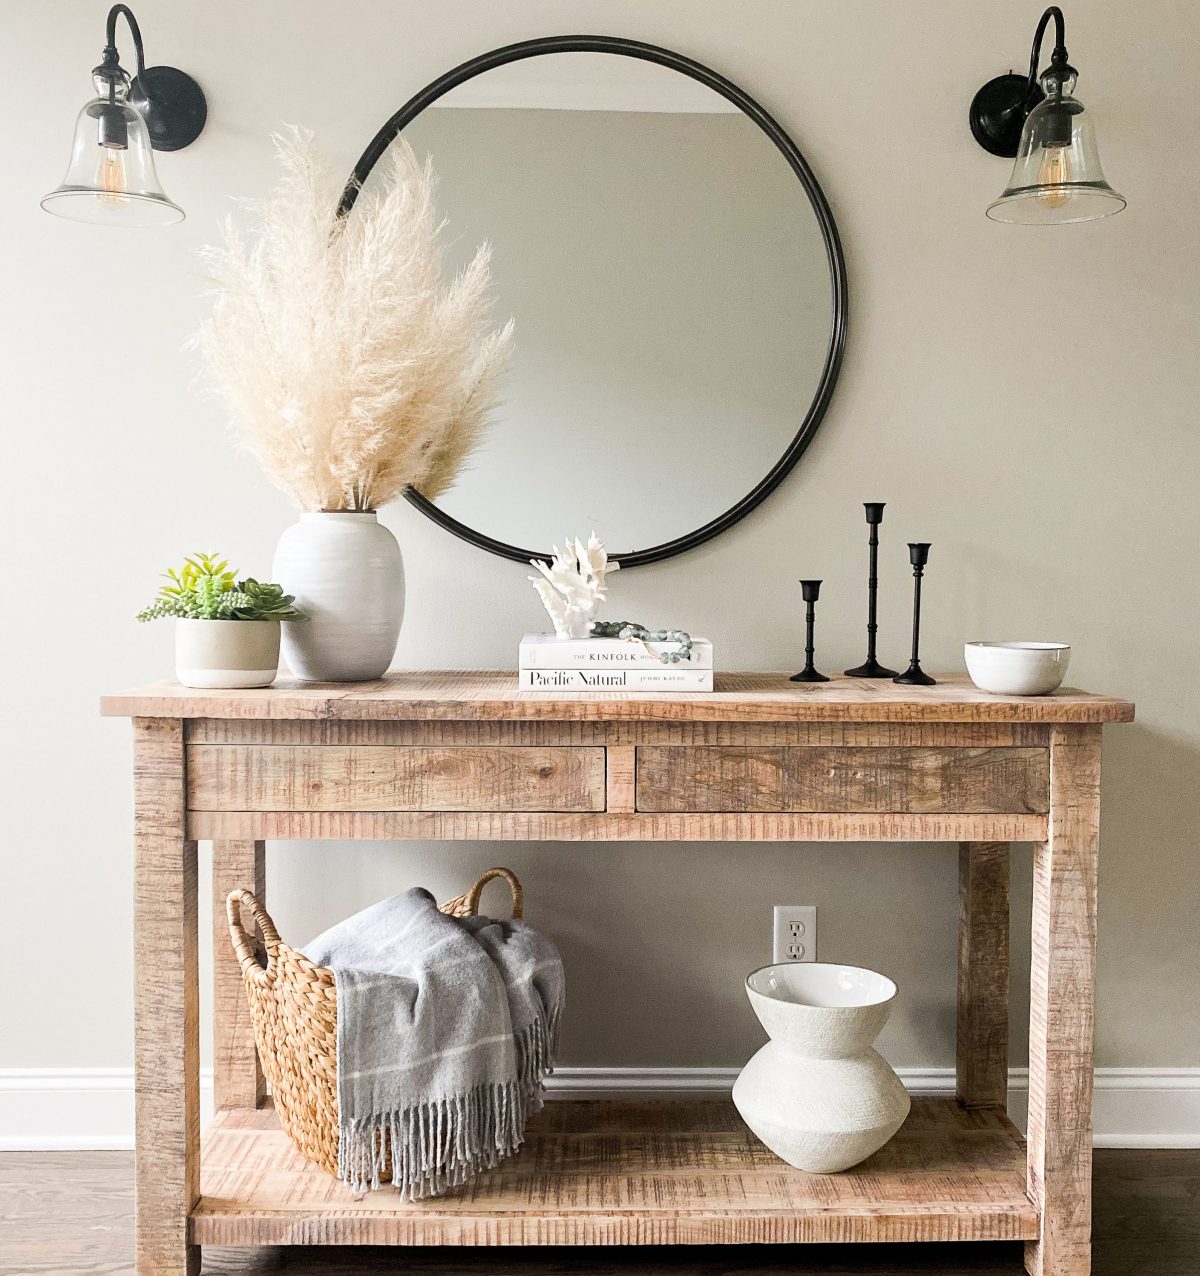
After a couple of weeks have passed, spray your pampas grass plumes one more time with the hairspray and let dry. Your stems are now ready for decorating!! I would recommend cutting them in different lengths to make arranging in a vase easier. Long stems are beautiful on the floor, and shorter ones work well for tabletop. But don’t be afraid to leave them a little longer even if you are using them on a tabletop, as they will look beautiful. Also, don’t be afraid to cut some plumes fairly short so that only the plumes are showing.
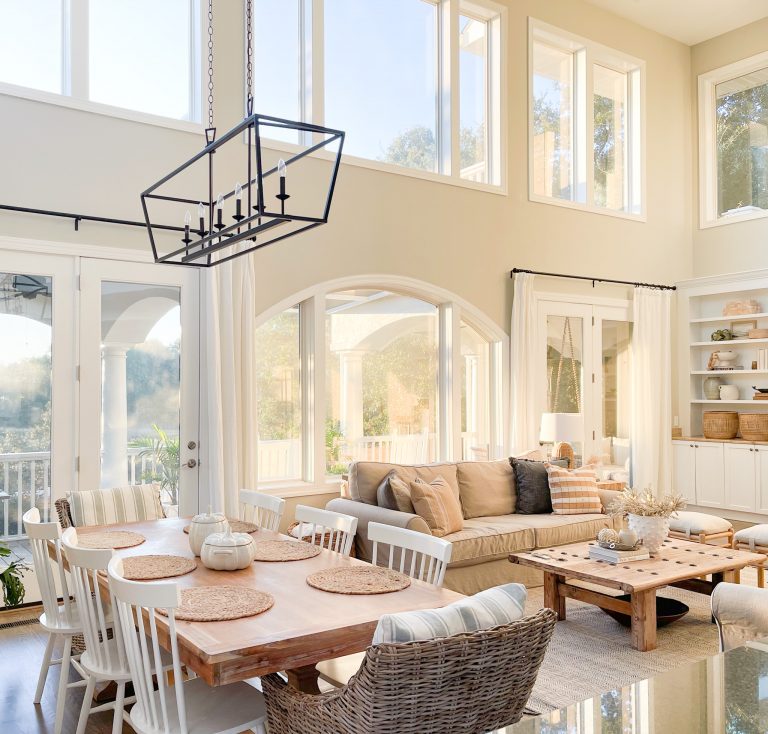
Overall, this is an easy process. For the impatient DIYer like me, 2 weeks seems like an eternity, but I have been very pleased with how well these have held up so it was worth the wait. I have these in a white vase on our console table and I love them. Next up for me is drying more to use for a floor vase. Let me know if you give this a try! And for more DIY projects, see my spread on all the things CASS Design Co. has been up to!
Hi Cassie,
Love your look. Can you tell me where you got your sofa table?
Thank you
Holly
Hi Holly! This was from a local store here in Wilmington, NC. I have linked the best comps I can find, but this one was a local purchase :).
Where did you get your mirror from ?
Hello. I was looking for the links to similar console tables, but I can’t find them. Even though this was a local find, is there a manufacturer? I’m really looking for one like this or really similar and struggling to find it anywhere. Any help is appreciated.
Hi Jennifer!
I’m not sure of the availability of these but sharing the links in case you want to check.
https://rstyle.me/+bLEzk45YXEVkh3rc_yRISA
This one isn’t identical but it gives the same feel.
https://rstyle.me/+E8e6rzb8PUBuPalBDvXoqw
This one is from HomeGoods but there are quite a few available elsewhere. Here’s a link for a similar one.
https://rstyle.me/+gZzx7jQyYt8s9d-qpaekmg
Hi, I was going to spray plumes with clear seal spray paint- or is it essential to use hairspray? Thx
Hi! I’ve never tried the clear seal spray paint so I’m not sure. My only fear is that it would weight the plumes down a little too much. The hairspray doesn’t eliminate all the shedding but it does a pretty good job and keeps the plumes nice & fluffy. Hope that helps!
Hi Cassie, I live in Wilmington too. Where did you find pampas grass that wasn’t on someone’s property? I’ve been looking for some on the sides of roads or in open areas but no luck. Btw…I love your home. It’s so beautiful.
So we live in Hampstead. I usually get mine from my in-laws so I don’t have to “steal” it lol. I would say finding a neighbor that prunes. You may be able to post on a “next-door” thread if you have that for your neighborhood :).
I’ll definitely look on a neighborhood thread. Thanks so much! Btw…your home is beautiful.